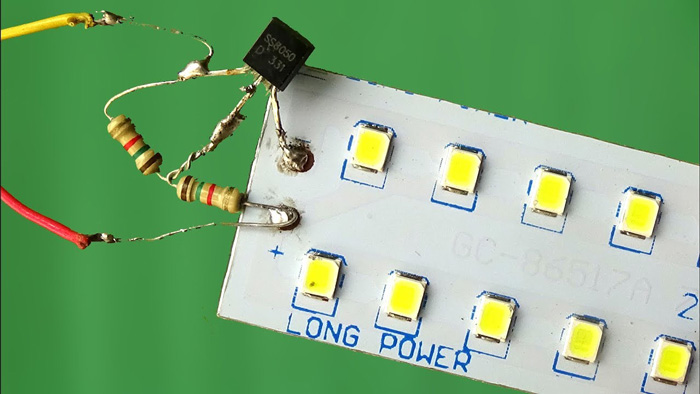
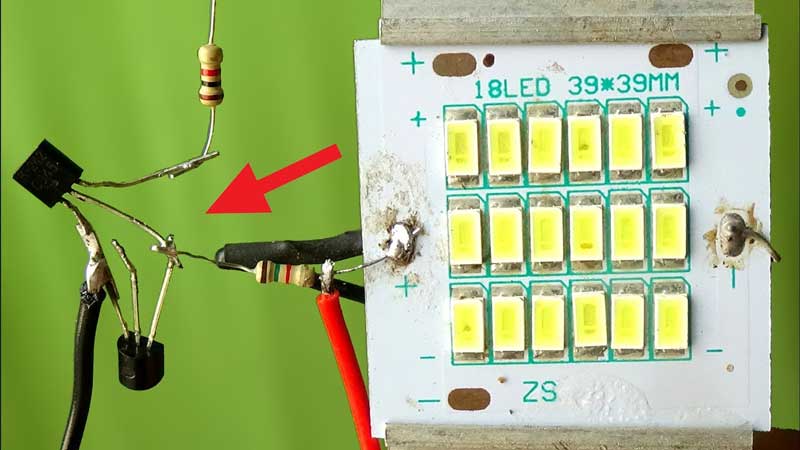
How To Wire LED Light Without Relay?
Correct amount of current, voltage and resistance are necessary to be followed in case of wiring LED lights in order to maintain the circuit.
Due to such level of accuracy to be followed, it gets difficult to wire LED lights. In case of wiring LED lights, relay is an important system that is followed. It is required in controlling the electricity in a high-current circuit load respectively.
However, relay is avoided in certain cases and alternatives like switches and circuits are used in its place. Proper ideas regarding wiring LED lights without relay are effective in carrying out the task.
Pros of Relay
Cons of Relay
Wiring LED Light Without Relay

The following steps will guide you to wire LED lights without relay. Read carefully and follow accordingly.
Choosing the LED
Light Emitting Diodes or LEDs can be chosen based on their color temperatures and operating life. LED should be selected with those containing a higher color temperature than the lower color ones as they prove to be more efficient than the later ones.
A color temperature of around 2700K to 3000K would be appropriate for using respectively. They can also be chosen on the basis of their operating life which varies within 20,000 to 50,000 hours.
There are different options to choose from nowadays due to more advanced production of variations of LEDs to choose from.
Selecting The Power Supply
After selection of the LED that is to be used for wiring, the power supply should be selected. The power supply should be such that it has a wattage and voltage appropriate using for the LED.
In order to have the current sufficient enough, select all the LEDs having the voltage and amperage of same values. This will not be too complicating and would be easy to carry out as well.
Fixing The Circuit
While wiring the LEDs, the first and foremost criteria should be to select a power supply more than the total supplied voltage. In this case, the LED should be wired in parallel circuits. Series circuit can be also selected in case of less number of LEDs.
Determining The Resistor
The next step during wiring the LED should be determining the resistor you will need. To determine the value of resistor that you will need for your circuit, the formula that should be followed is;
(source voltage - LED voltage drop) / LED current amps = ohms
Suppose, using a 10-volt power source with an LED rated at 4.1 volts and 10 milliamps (0.01amp) results in a resistor value of 590 ohms.
Purchase a resistor with a value close to this making it an approximate score. In this step, the most important task is to correctly calculate the voltage and amperage before determining the resistor.
High current value can cause hazards and may cause the LED to explode. So safety must be ensured. Next, the resistor needs to be soldered to the anode of the LED respectively.
Wiring
Turn the switch to the ‘off ’position to avoid any mishaps. Link the other side of the respective resistor to one terminal of the switch using copper wire. Complete the step by soldering the copper wire to both the switch and the resistor.
Start soldering a piece of wire between the other terminal of the switch and the positive side of the power supply. Mark this side of the power supply with a "+" which will be a red terminal respectively.
Introduce a third piece of wire between the cathode of the LED and power supply. End this step by soldering the wire to the LED and the power supply. The most important step is to properly place the anode and cathode to ensure bright lighting.
Turn the switch to the ‘on’ position and check if the LED lights up or not. Also ensure if the light emitting is bright enough or not and you’re good to go.
Conclusion
Bringing it to the end, it can be said that wiring an LED should be done with proper steps to be followed safely and appropriately. Although relay is a vital part to wire LED, it is possible to wire one without it.
In this case, a switch can be used by determining the type of LED, power supply and resistor and wiring it. This way, the purpose of wiring an LED can be served easily and this process will not require the involvement of a relay as well.

